

1. Database Configuration
Before starting the admin installation, the database must be configured for the application.
For creating the database, the following ways must be maintained-
- Go to MySQL Databases
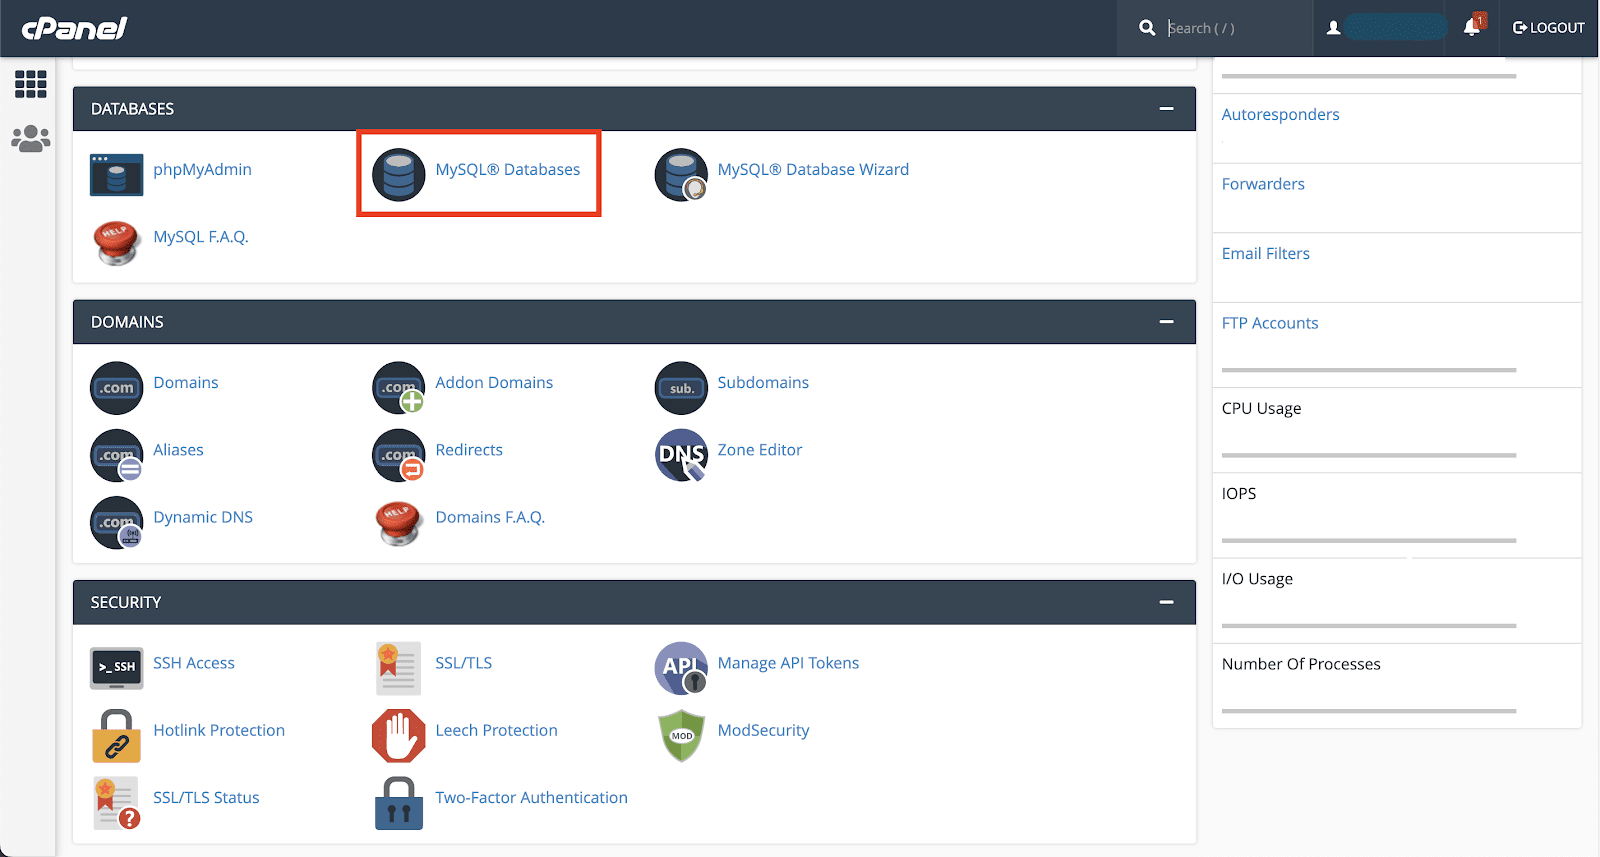
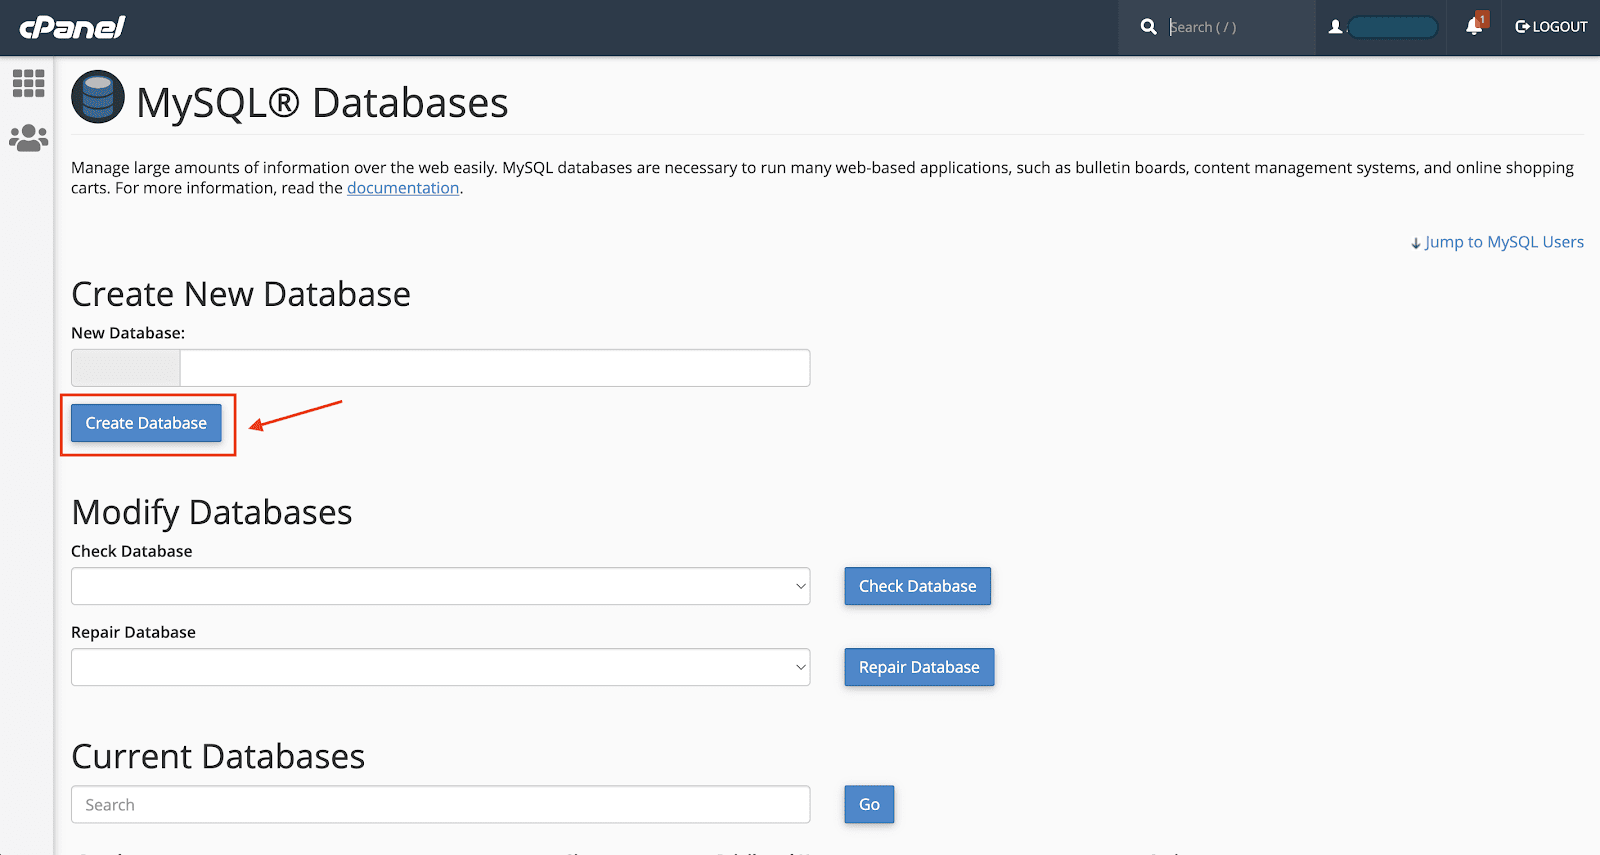
- Create a new database for the application
- Create a user for the database
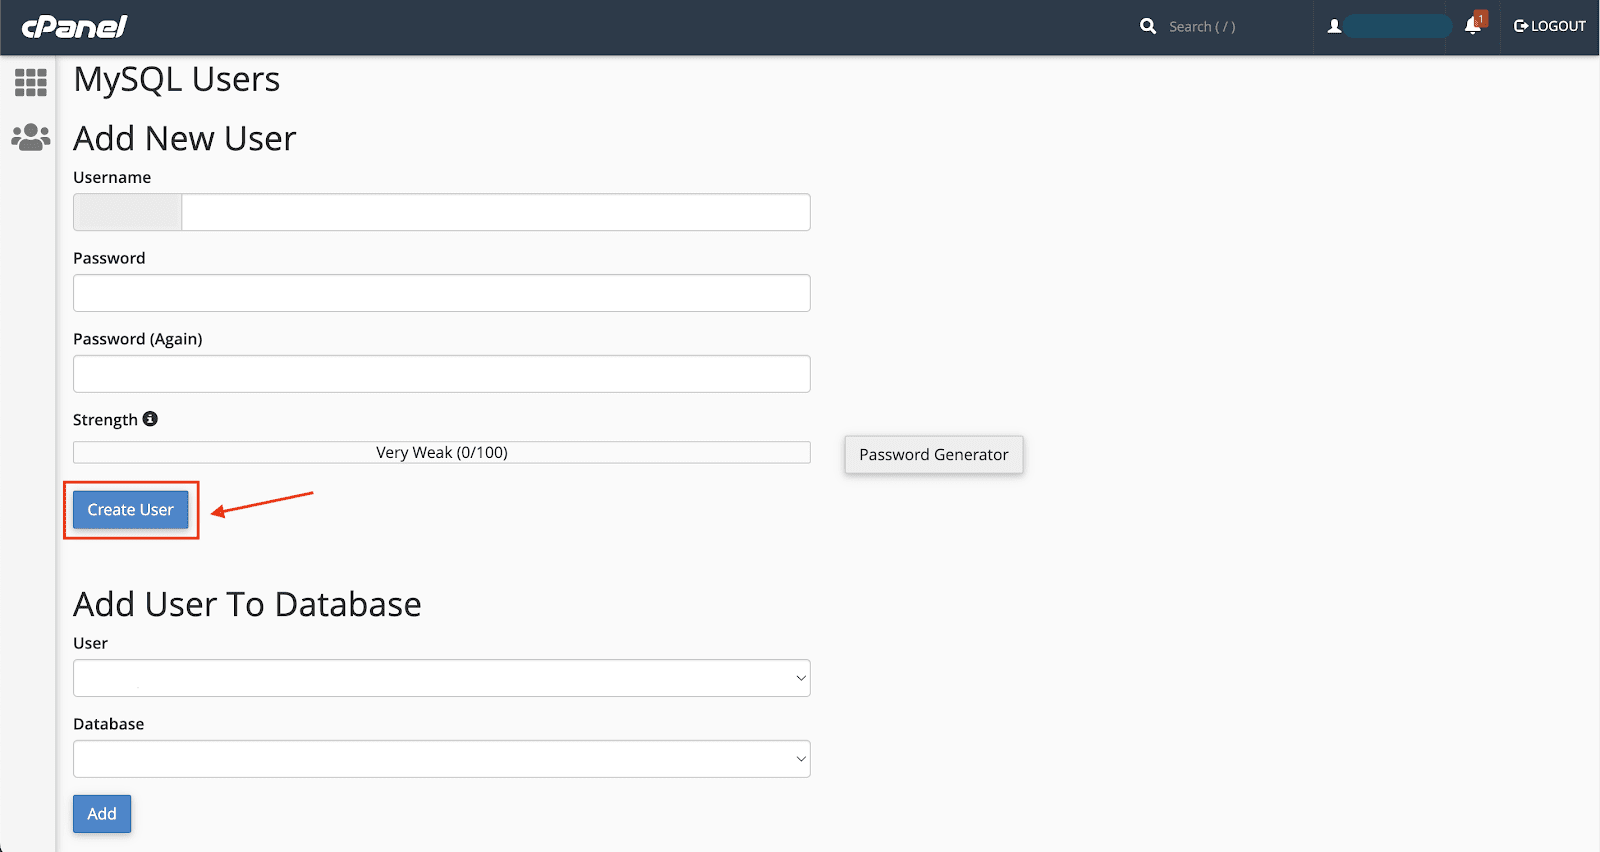
WARNING
Avoid using hash (“#”) in your password
- Add the user to the database
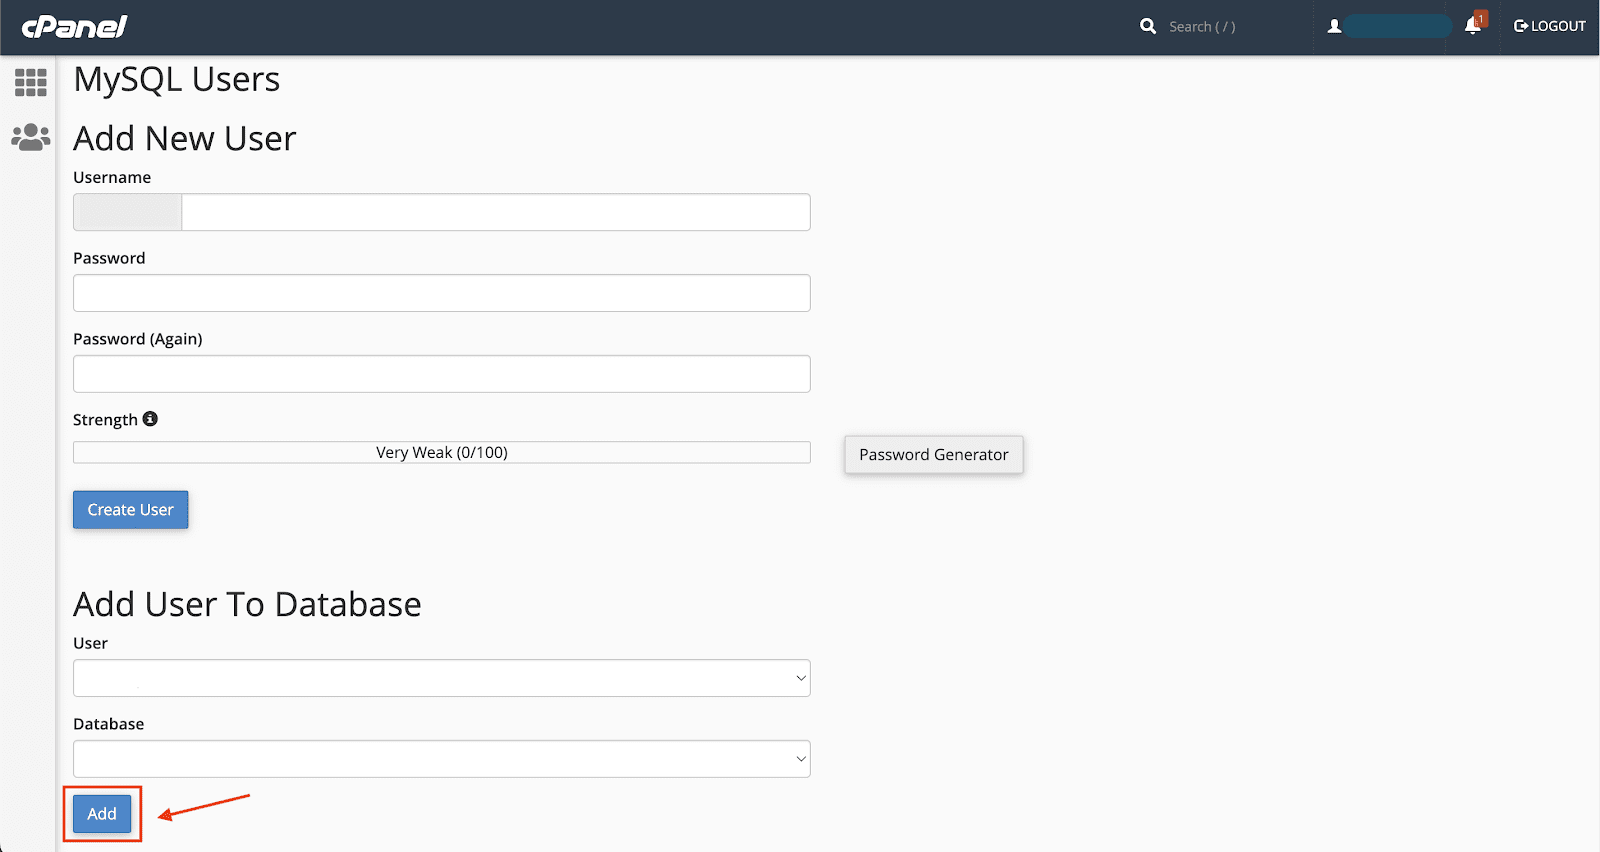
- Give privileges to the user
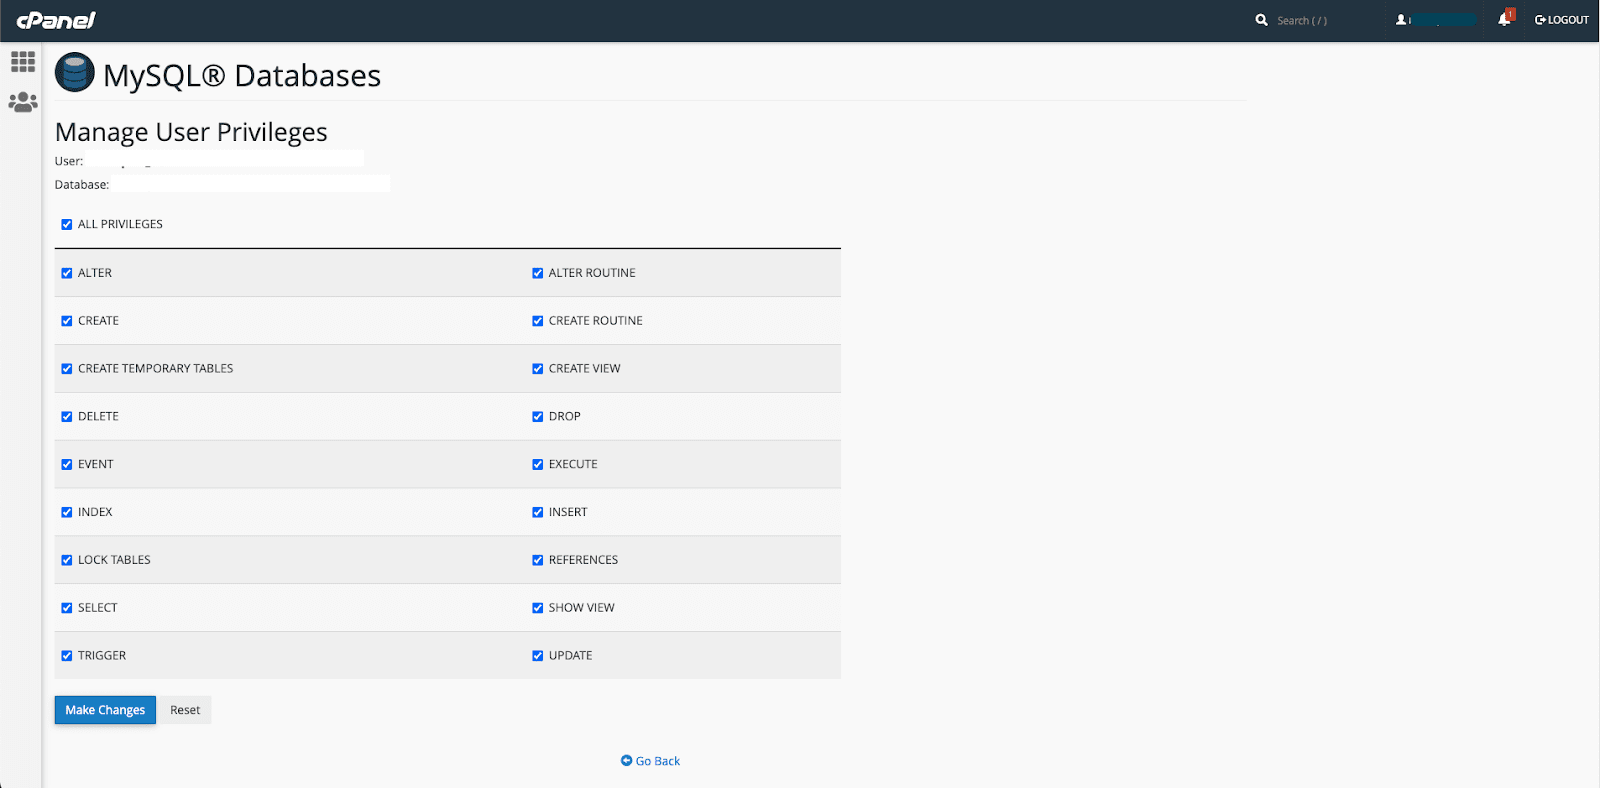
TIP
From one hosting provider to the next, the interface or step differs. Speak with your server provider if you’re having trouble configuring the database. You can also get in touch with us for any type of consulting if you need it.
1. Cron job setup
Setting up a Cron Job on cPanel:
Log in to cPanel:
- Open your web browser and navigate to your cPanel login page.
- Enter your username and password to log in.
- Locate the “Cron Jobs” Feature:
- In the main cPanel dashboard, look for the “Cron Jobs” icon or find it in the “Advanced” section.
- Choose the Time Interval:
- Select how often you want the cron job to run (e.g., every minute, hourly, daily, etc.).
- Enter the Command:
- In the “Command” field, enter the full path to the script or command you want to run. For set this job:
- /usr/bin/php /home/yourusername/public_html/artisan trip-request:cancel
- Save the Cron Job:
- Click on the “Add New Cron Job” button to save your cron job.
2. Admin Panel Installation
Upload the Admin New Install.zip in your directory and extract the zip file. DriveMond can be installed on your main domain or subdomain: For Example, yourdomain.com or subdomain.yourdomain.com
WARNING
Don’t install the admin panel or web app in a sub directory (like: yourdomain.com/folder)
DriveMond requires an SSL certificate to be installed on your domain to work with all the services. A free SSL certificate can be easily installed on your domain using sslforfree.com
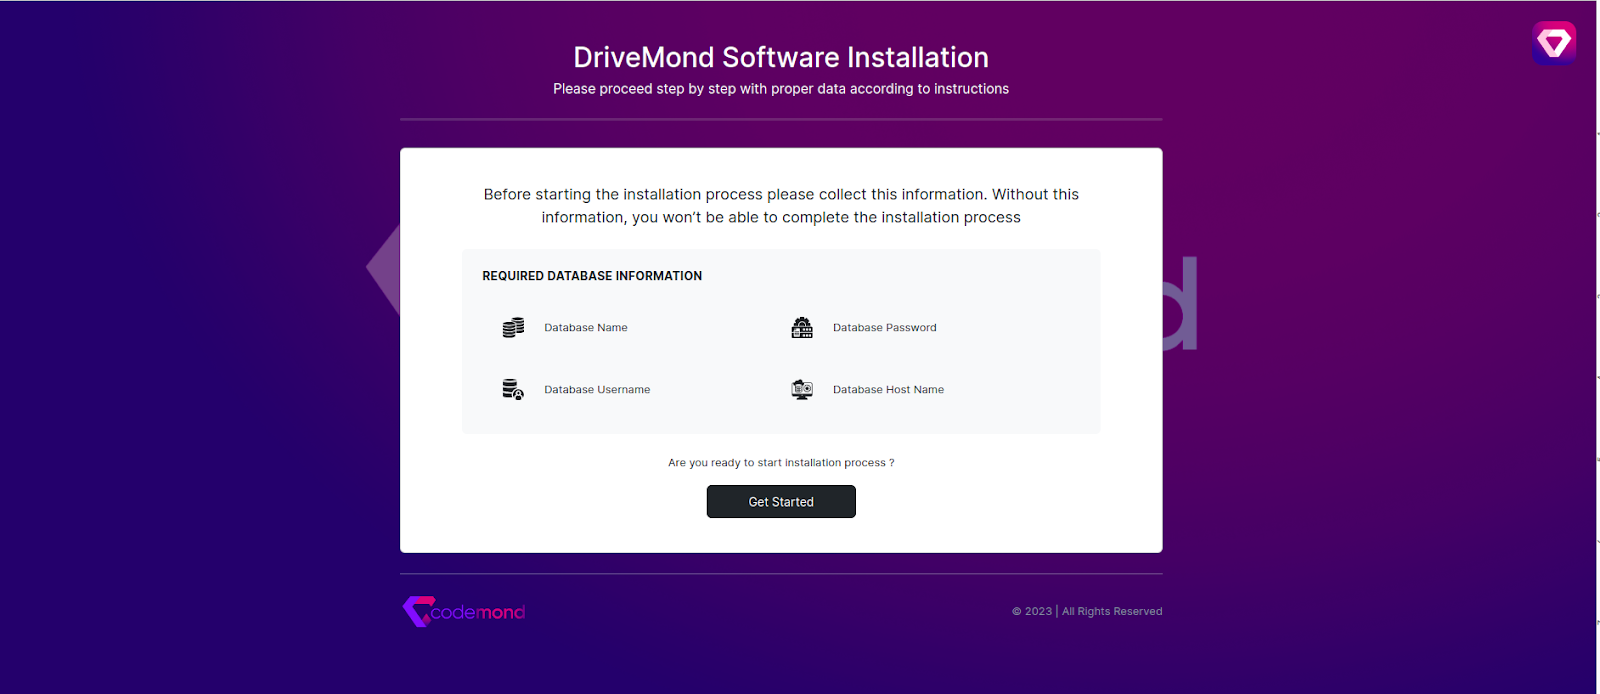
Let’s start the installation-
- First, hit your site URL and it will automatically take you to the installation. Click Get Started to start.
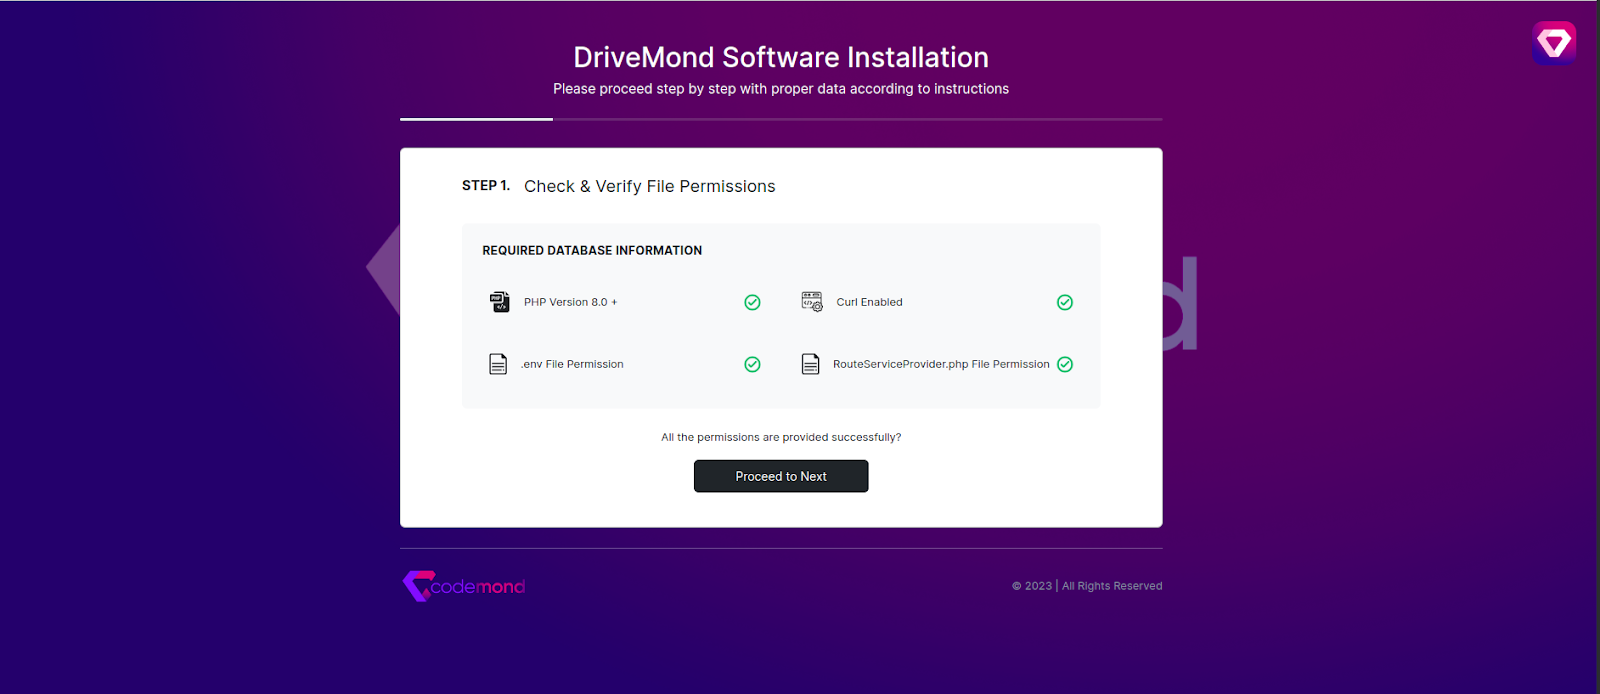
- Step 1: All the required extensions and permissions must be enabled. Check the required information if everything is OK then click on Process Next.
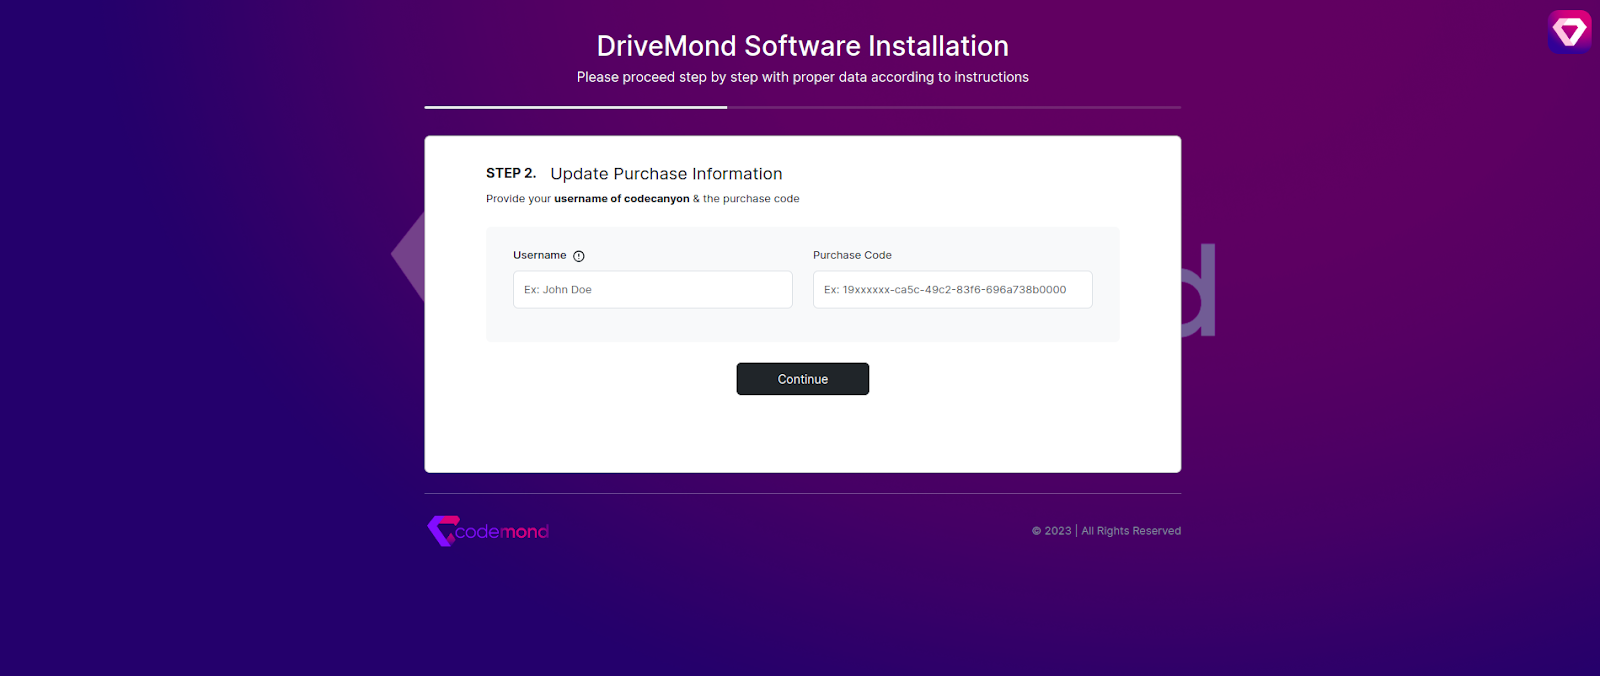
- Step 2: Provide your username and purchase code and Continue.
If you find the following page, you must activate your domain. Now fill up the information and proceed

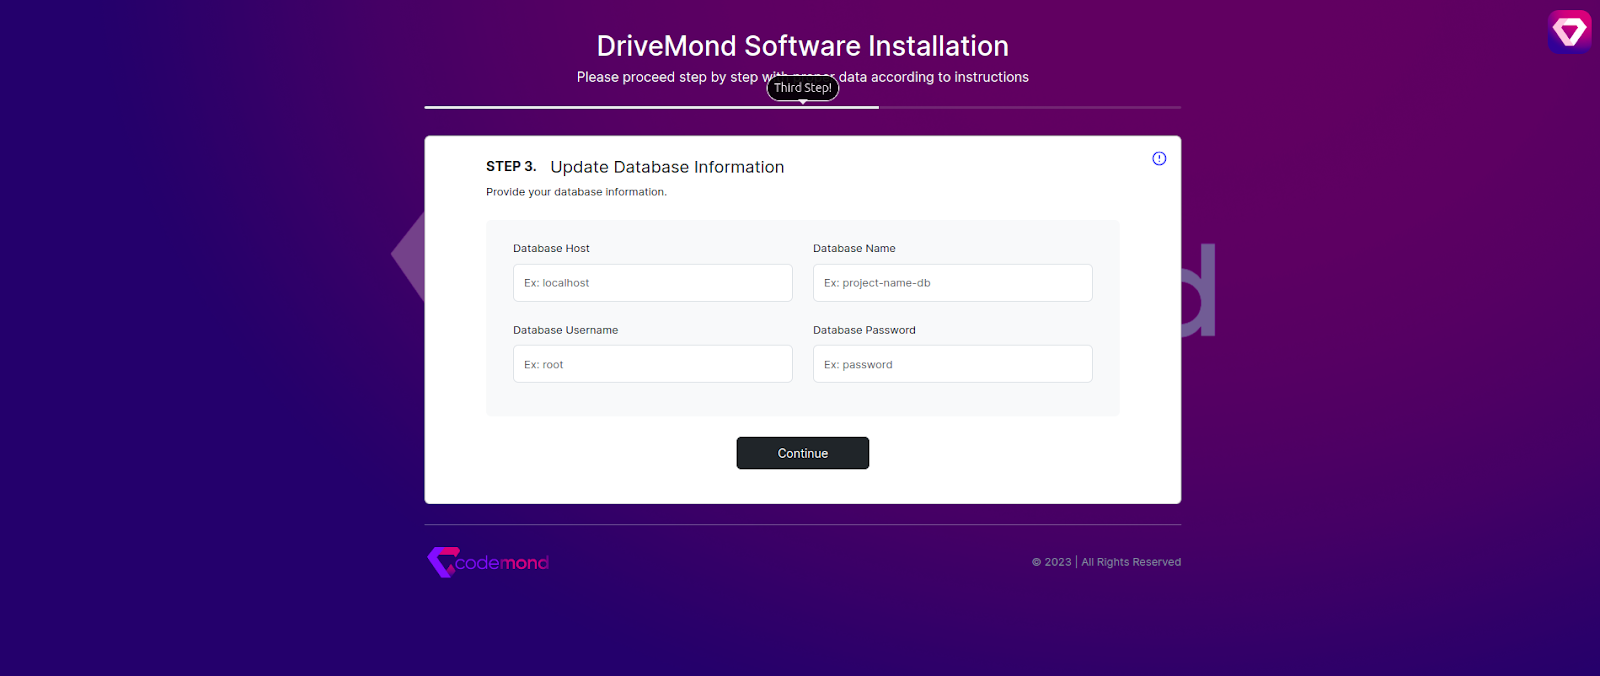
- Step 3: Now you need to set Database host, Database name, Database username & password and click Continue. If the database is in your server then the host is localhost.
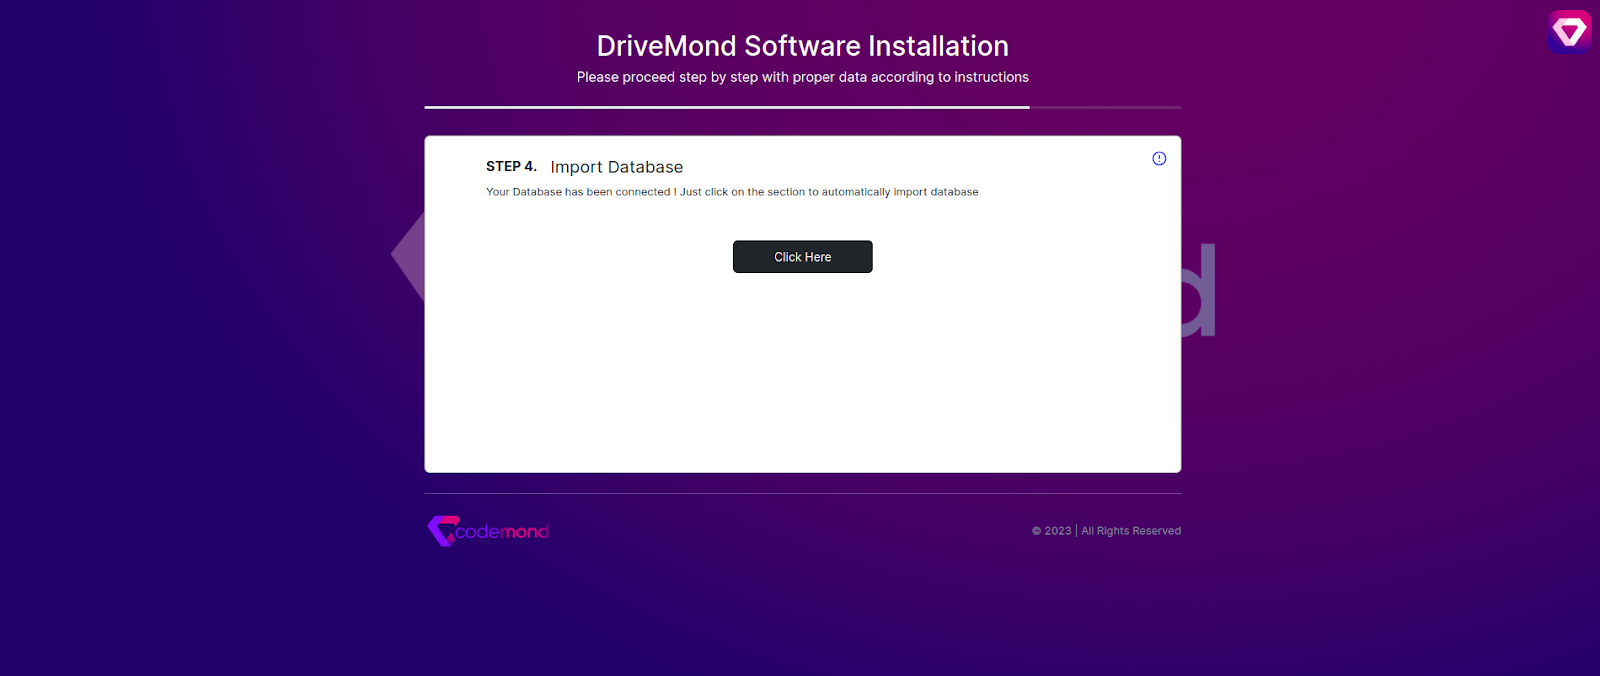
- Step 4: Now you need to import the SQL file. For this just press Click Here to import the database.
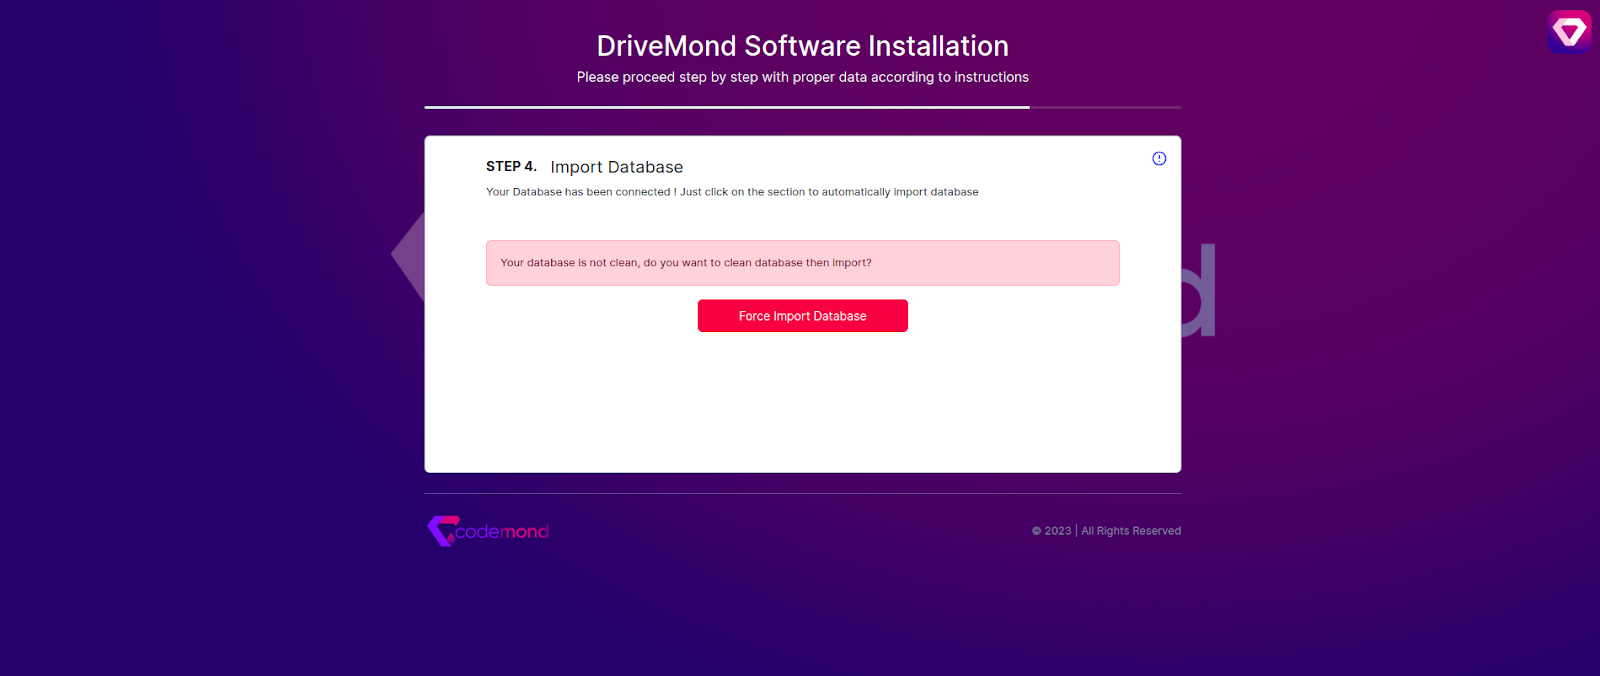
If you find the following page that means your database is not clean. Click Force Import Database to import the database which will clear your database first then import the application’s database.
- Step 5: Now fill up the information and click Complete Installation
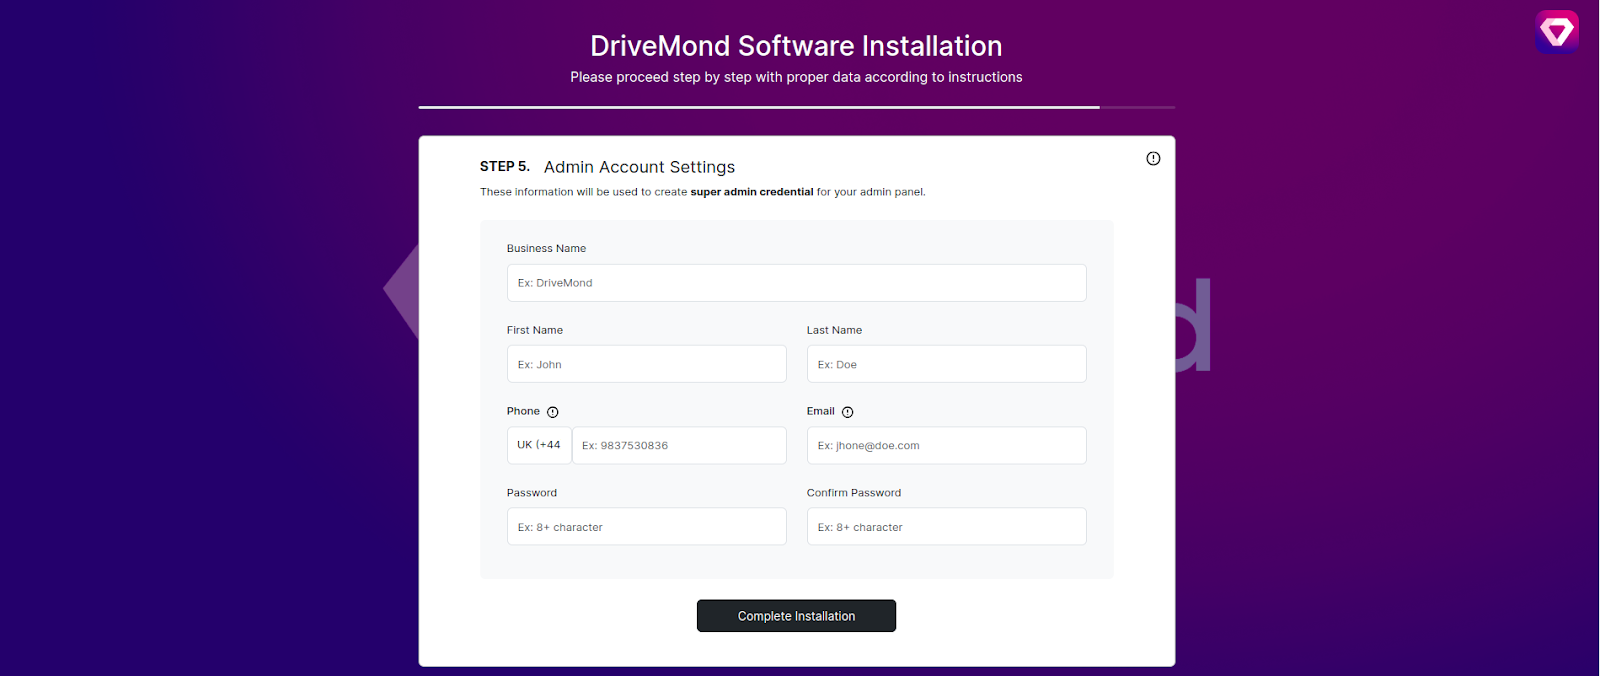
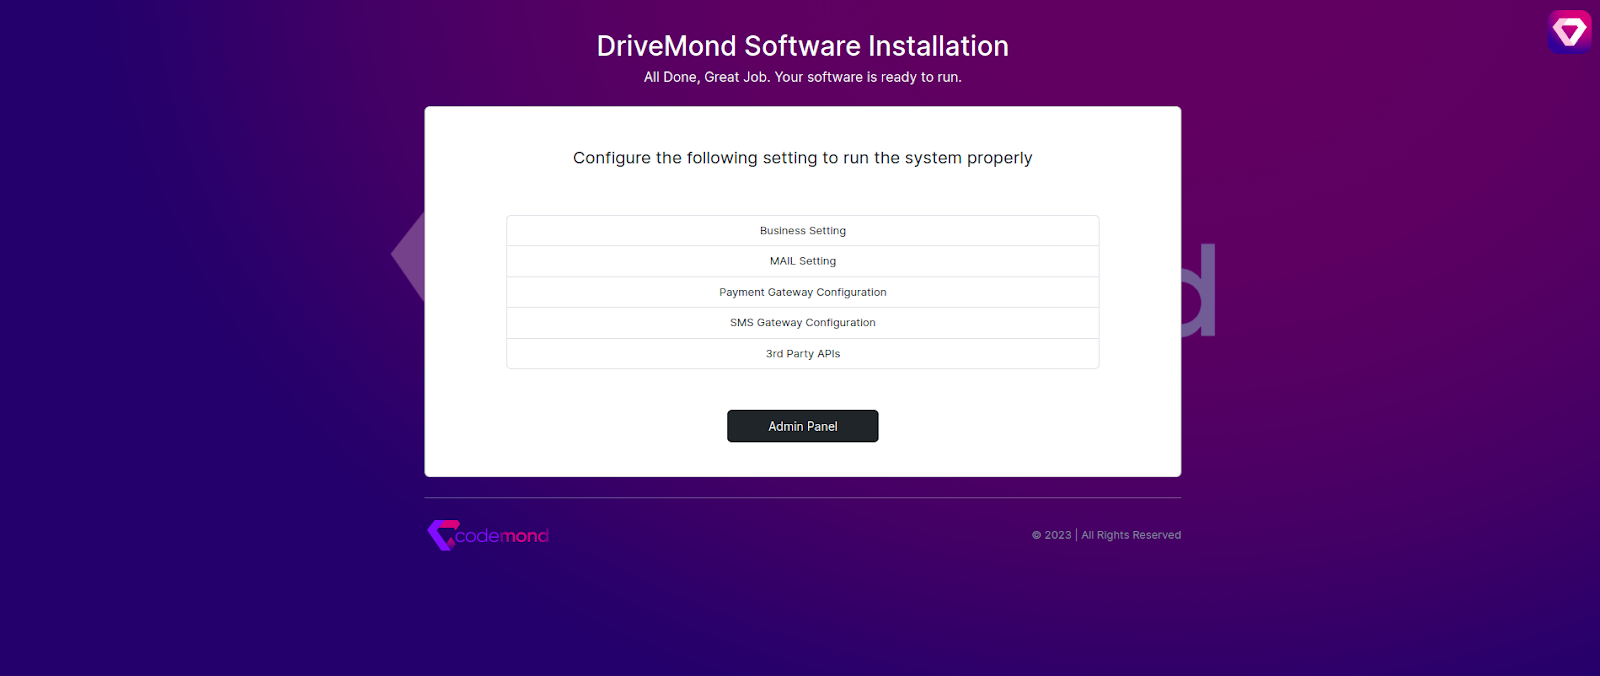
Congratulations! Your software is ready to run. Click on the Admin Panel or view Landing Page.
TIP
Recommended tutorial is below 👇


